Running your own StarDist3D model in napari#
Bryant Roberts, September 17th, 2025
This post is the third in a part of a series on StarDist for nuclear segmentation:
Running trained and pre-trained StarDist models in napari
<--- You are here!
Requirements#
You should have already performed the following:
Installed Miniforge per this post.
Trained your own StarDist model per this post {in preparation} (optional if you plan to use the pre-trained model).
Installed Git (download at: https://git-scm.com/downloads/win)
1 Install napari with StarDist plugin#
We will create a new conda environment to run StarDist as a napari plugin.
1.1 Create a custom Conda environment stardist-napari
Enter the following command in the Miniforge Prompt and press Enter:
mamba create -n stardist-napari python=3.8 pip cudatoolkit=11.2 cudnn=8.1.0 -y
This process may take a few minutes while downloading and extracting the required packages.
1.2 Activate the environment
mamba activate stardist-napari
The Miniforge Prompt will change from (base) C:\...> to (stardist-napari) C:\... or similar
1.3 Install the specified versions of TensorFlow, NumPy and Napari that are compatible for running StarDist with GPU support. In the Miniforge Prompt, enter each command line-by-line and press enter.
pip install tensorflow==2.10
pip install numpy==1.23.5
pip install "napari[all]==0.4.18"
1.4 Confirm that Tensorflow can detect the system GPU
In the active stardist-napari environment, run the following Python code:
python -c "import tensorflow as tf; print('Num GPUs Available:', len(tf.config.list_physical_devices('GPU'))); print(tf.config.list_physical_devices('GPU'))"
✅Expected output (if the GPU is detected):
Num GPUs Available: 1
[PhysicalDevice(name='/physical_device:GPU:0', device_type='GPU')]
❌If GPU is not detected:
Num GPUs Available: 0
[]
1.5 StarDist plugin installation in napari (git required) Enter the following command to install the StarDist plugin in the napari environment:
pip install git+https://github.com/stardist/stardist-napari.git
1.6 Open napari You can open the napari GUI using the following command:
napari
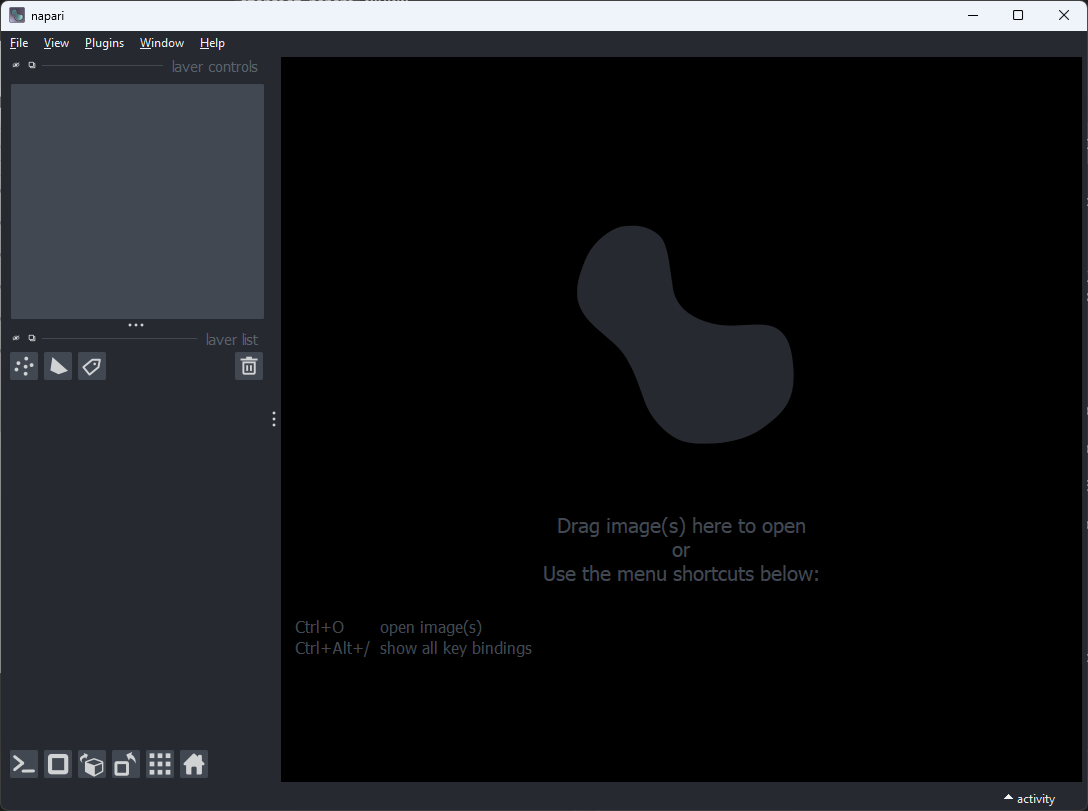
Fig. 3 napari GUI#
2 Testing the stardist-napari plugin with a pre-trained model#
If installed correctly, StarDist (including pretrained models and sample data) should be included when you open napari.
We will run a pre-trained model and our own model on a sample image to test our installation.
2.1 In napari, open the sample image from the menu File > Open Sample > stardist-napari > Nuclei (3D)
2.2 Open the stardist-napari plugin from the menu Plugins > StarDist (stardist-napari)
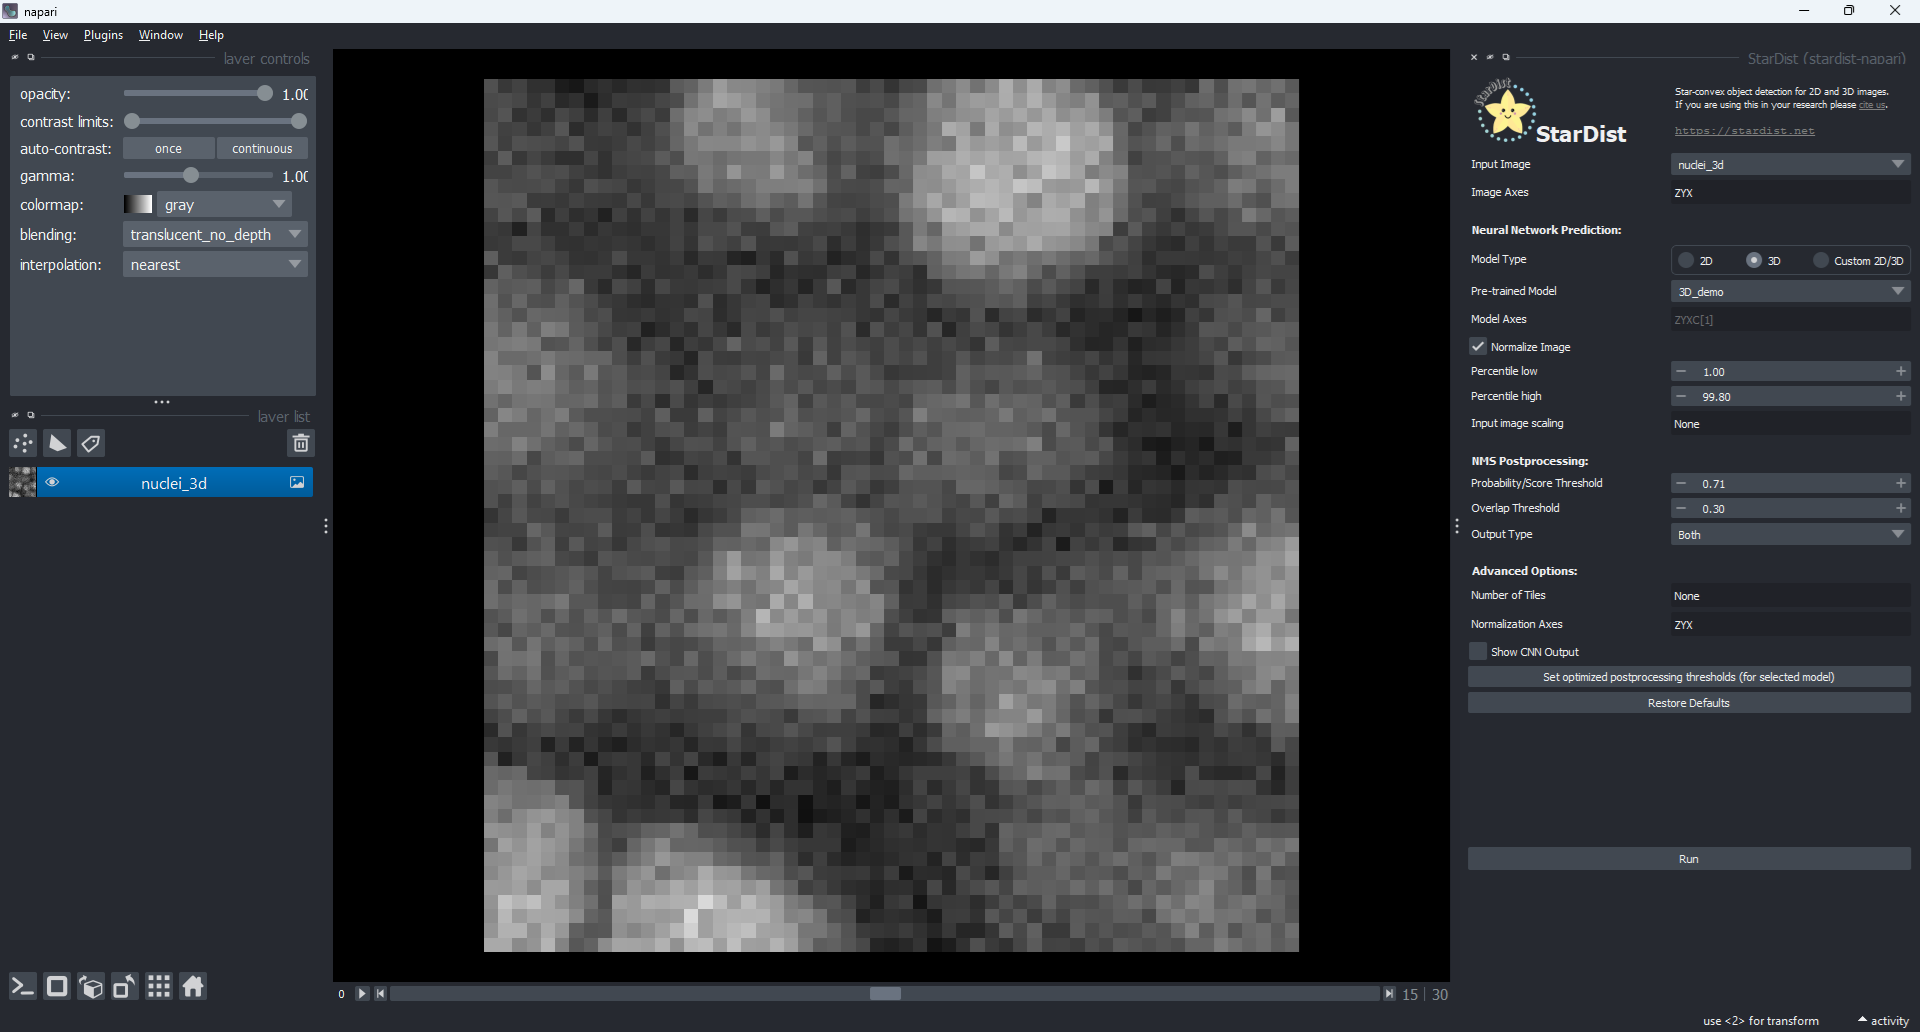
Fig. 4 StarDist sample data and napari plugin#
2.3 In the StarDist sidepanel, set the below parameters as follows:
Input Image:
nuclei_3DModel Type:
3DPre-trained Model:
3D_demoOutput Type:
Bothclick
Set optimized postprocessing thresholds (for selected model)to update the NMS Postprocessing parameters.
2.4 Click Run to produce the StarDist labels and polyhedra
Cell labels (one colour per cell) will appear on the nuclei_3D image as below. You can view these both in 2D and 3D by clicking the Toggle ndisplay button (second button in the bottom left panel, or press Ctrl+Y).
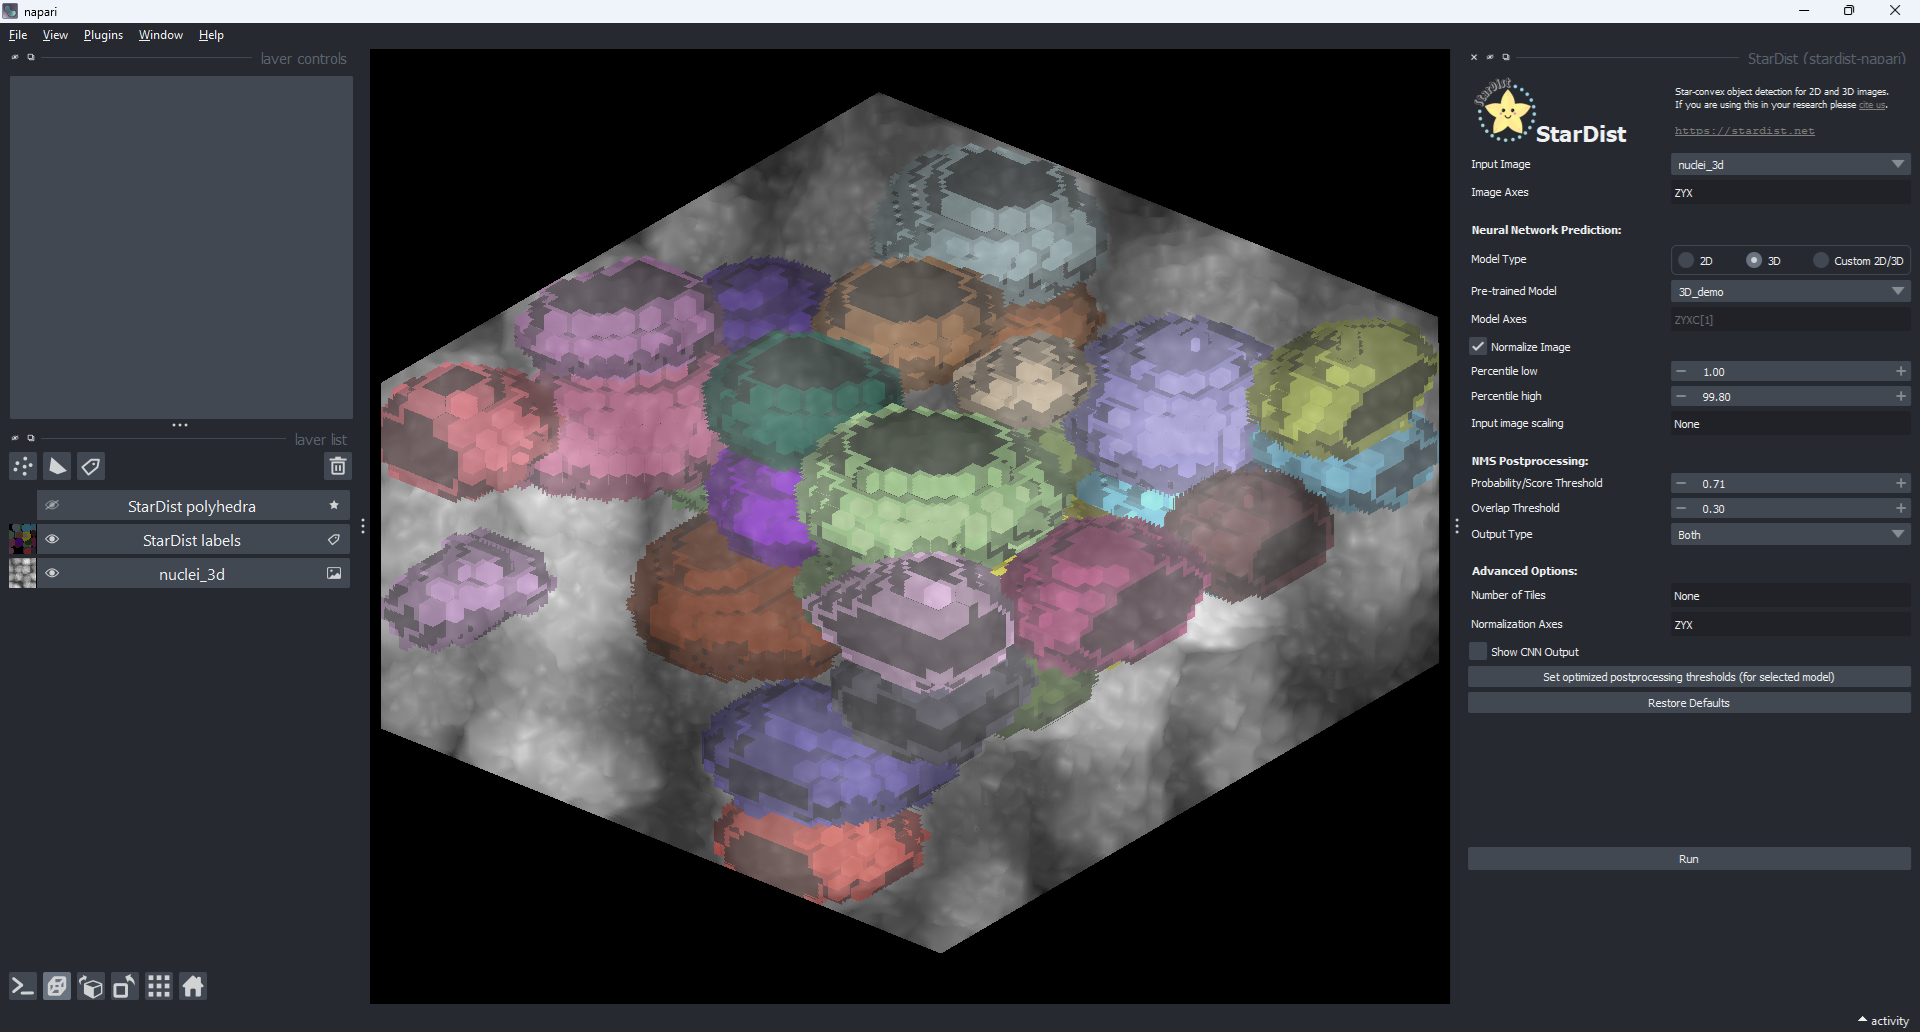
Fig. 5 StarDist3D nuclear labels predicted on demo image#
3 Running the stardist-napari plugin with your own trained model#
We can perform nuclear segmentation using our own trained StarDist model as created in the previous post.
3.1 In the StarDist sidepanel, set the below parameters as follows:
Input Image:
nuclei_3DModel Type:
Custom 2D/3DPre-trained Model: Click
Choose directory, in the dialog window navigate to the trained model, e.g.D:\adelaidemicroscopy\stardist3d\models\example_model\and clickSelect Folderclick
Set optimized postprocessing thresholds (for selected model)to update the NMS Postprocessing parameters.
3.2 Click Run to produce the StarDist labels and polyhedra
Note that my model did not do as good a job as the 3D_demo model.
What is next?#
Now that you have nice segmentation of cell nuclei you might be interested in performing quantitative analysis on these objects.
See this post
Concluding Remarks#
By following these instructions you:
installed compatible CUDA and CUDnn libraries that allow TensorFlow 2.10 to run operations on your NVIDIA GPU.
installed miniforge and navigated the
Miniforge Promptto manage Python environments on your devicesuccessfully created custom Python environments
stardist-trainandstardist-naparifor training and applying custom 2D and 3D stardist models on your local device GPU These environment used:
python 3.8
tensorflow 2.10
stardist 0.8.5
numpy 1.23.5
gputools 0.2.15 (
stardist-trainonly)napari 0.4.18 (
stardist-naparionly)
in the
stardist-trainenvironment, ran the example stardist Jupyter Notebooks to train and evaluate your own stardist models on demo datain the
stardist-naparienvironment, opened the napari GUI, installed thestardist-napari 2024.8.6.1plugin, and applied pre-trained and your own custom stardist models for nuclei segmentation on the sample image
To see how Adelaide Microscopy have used stardist for researcher data visit the blog
To apply this to your own dataset, check out the post LINK for instructions on test/train data annotation and example case from our lab. Including how to perform measurementson the data.
References#
Step 1 CUDA#
Download and install the
CUDA Toolkit for Windows 10via the link https://developer.nvidia.com/cuda-11.2.2-download-archive?target_os=Windows&target_arch=x86_64&target_version=10&target_type=exenetwork
Step 2 cuDNN#
A Nvidia Developer account is required to download cuDNN. Sign-up here https://developer.nvidia.com/login
Visit the link …
Unzip the cuDNN archive and copy the files into the CUDA installation directory, e.g.
C:\Program Files\NVIDIA GPU Computing Toolkit\CUDA\v11.2Restart your computer
Step 5#
Some conflicts exist between different versions of Tensorflow, Python, CUDA and others. I suggest that you install the specific versions of packages as described in the instructions below.
Create the
stardistconda environment Open the anaconda promptStart > Anaconda Prompt, and type the following:
conda create -n stardist python==3.10
When conda asks you to proceed, type y and hit Enter.
Activate
Create a StarDist conda environment
Warning
It is recommended that you install that package versions as listed. Compatibility issues can occur if package versions are not carefully matched, e.g. TensorFlow does not detect the GPU. If you are experiencing issues, create the stardist-train environment using the below stardist-train.yml file.
To install from the requirements file, create your stardist-train environment as above by typing the following command in the Miniforge Prompt and press Enter:
mamba create -n stardist-train python=3.8 pip cudatoolkit=11.2 cudnn=8.1.0 -y
Then activate the environment:
To recrea To run the 3D StarDist notebook locally, it is important that the correct packages are installed.
mamba create -n napari-stardist python=3.8 pip cudatoolkit=11.2 cudnn=8.1.0 -y
mamba activate napari-stardist
pip install tensorflow==2.10
pip install "numpy>=1.20,<1.24"
pip install stardist==0.8.5
pip install "napari[all]==0.4.18"
Let’s point our shell
jupyter notebook --notebook-dir=D:/
Pitfalls#
E.g., applying the model to the incorrect image type
THE FOLLOWING INSTRUCTIONS ARE OLD AND MAY PRODUCE A HTTP ERROR You can open the napari GUI using the following command:
napari
To install the StarDist plugin, click on the menu
Plugins > Install/Uninstall Plugins...In the dialog box, search for ‘stardist’
Click the
Installbutton next to the package calledstardist-napari
Close napari and reopen by entering
napariat the Miniforge prompt